The first step was to help remove some of the 'noise' from the hatch area - getting some Dynamat and Noico was my first step in the process (and relatively simple to be honest)
The first part was to disassemble the hatch to get to the metal
Pulling out the carpet and spare tire is relatively simple...
You have to disconnect the subwoofer as well - a simple unclip and 3 nuts to loosen the cabinet
There are 2 bolts on the bottomYou'll notice the 3rd bolt is a bit hidden, so check below...
Here's a good view of the whole area covered with some Dynamat, and the Noico - both are relatively the same, and really help knock down the noise/sound from vibrations, etc...
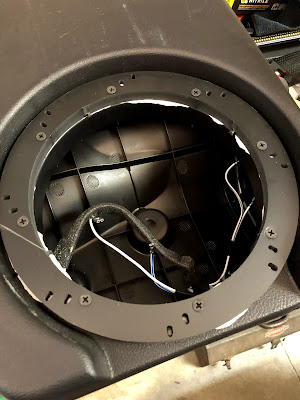
The trim ring (.5" deep) is important because the Kicker Sub is a little deeper than the Sony Sub...
I used some sealant between the spacer and the cabinet.
Next I had to add some of the sound deadener to seal off the hole behind the old Sony Subwoofer, and stuffed some PolyFil into the cabinet.
You can see how I wired the subwoofer in series, this allows the amp to run 300W @ 1Ohm and this subwoofer is built to accept this!
You can see the result of the config here... next I will post when it's hooked up!


No comments:
Post a Comment