All good things come to an end, it's for sale!

2016 Ford Focus ST <-- click here to see the ad!

We are selling our 2016 Ford Focus ST with ST3 package. If you're looking for a well cared for 6-speed manual car that has been well maintained, look no further!

The ST3 package adds heated mirrors, a keyless entry keypad, full leather upholstery, heated front Recaro seats (with eight-way driver power adjustments), additional head-restraint adjustments, a heated steering wheel, a rear center armrest, multicolor ambient interior lighting, carbon-fiber interior accents and a navigation system.


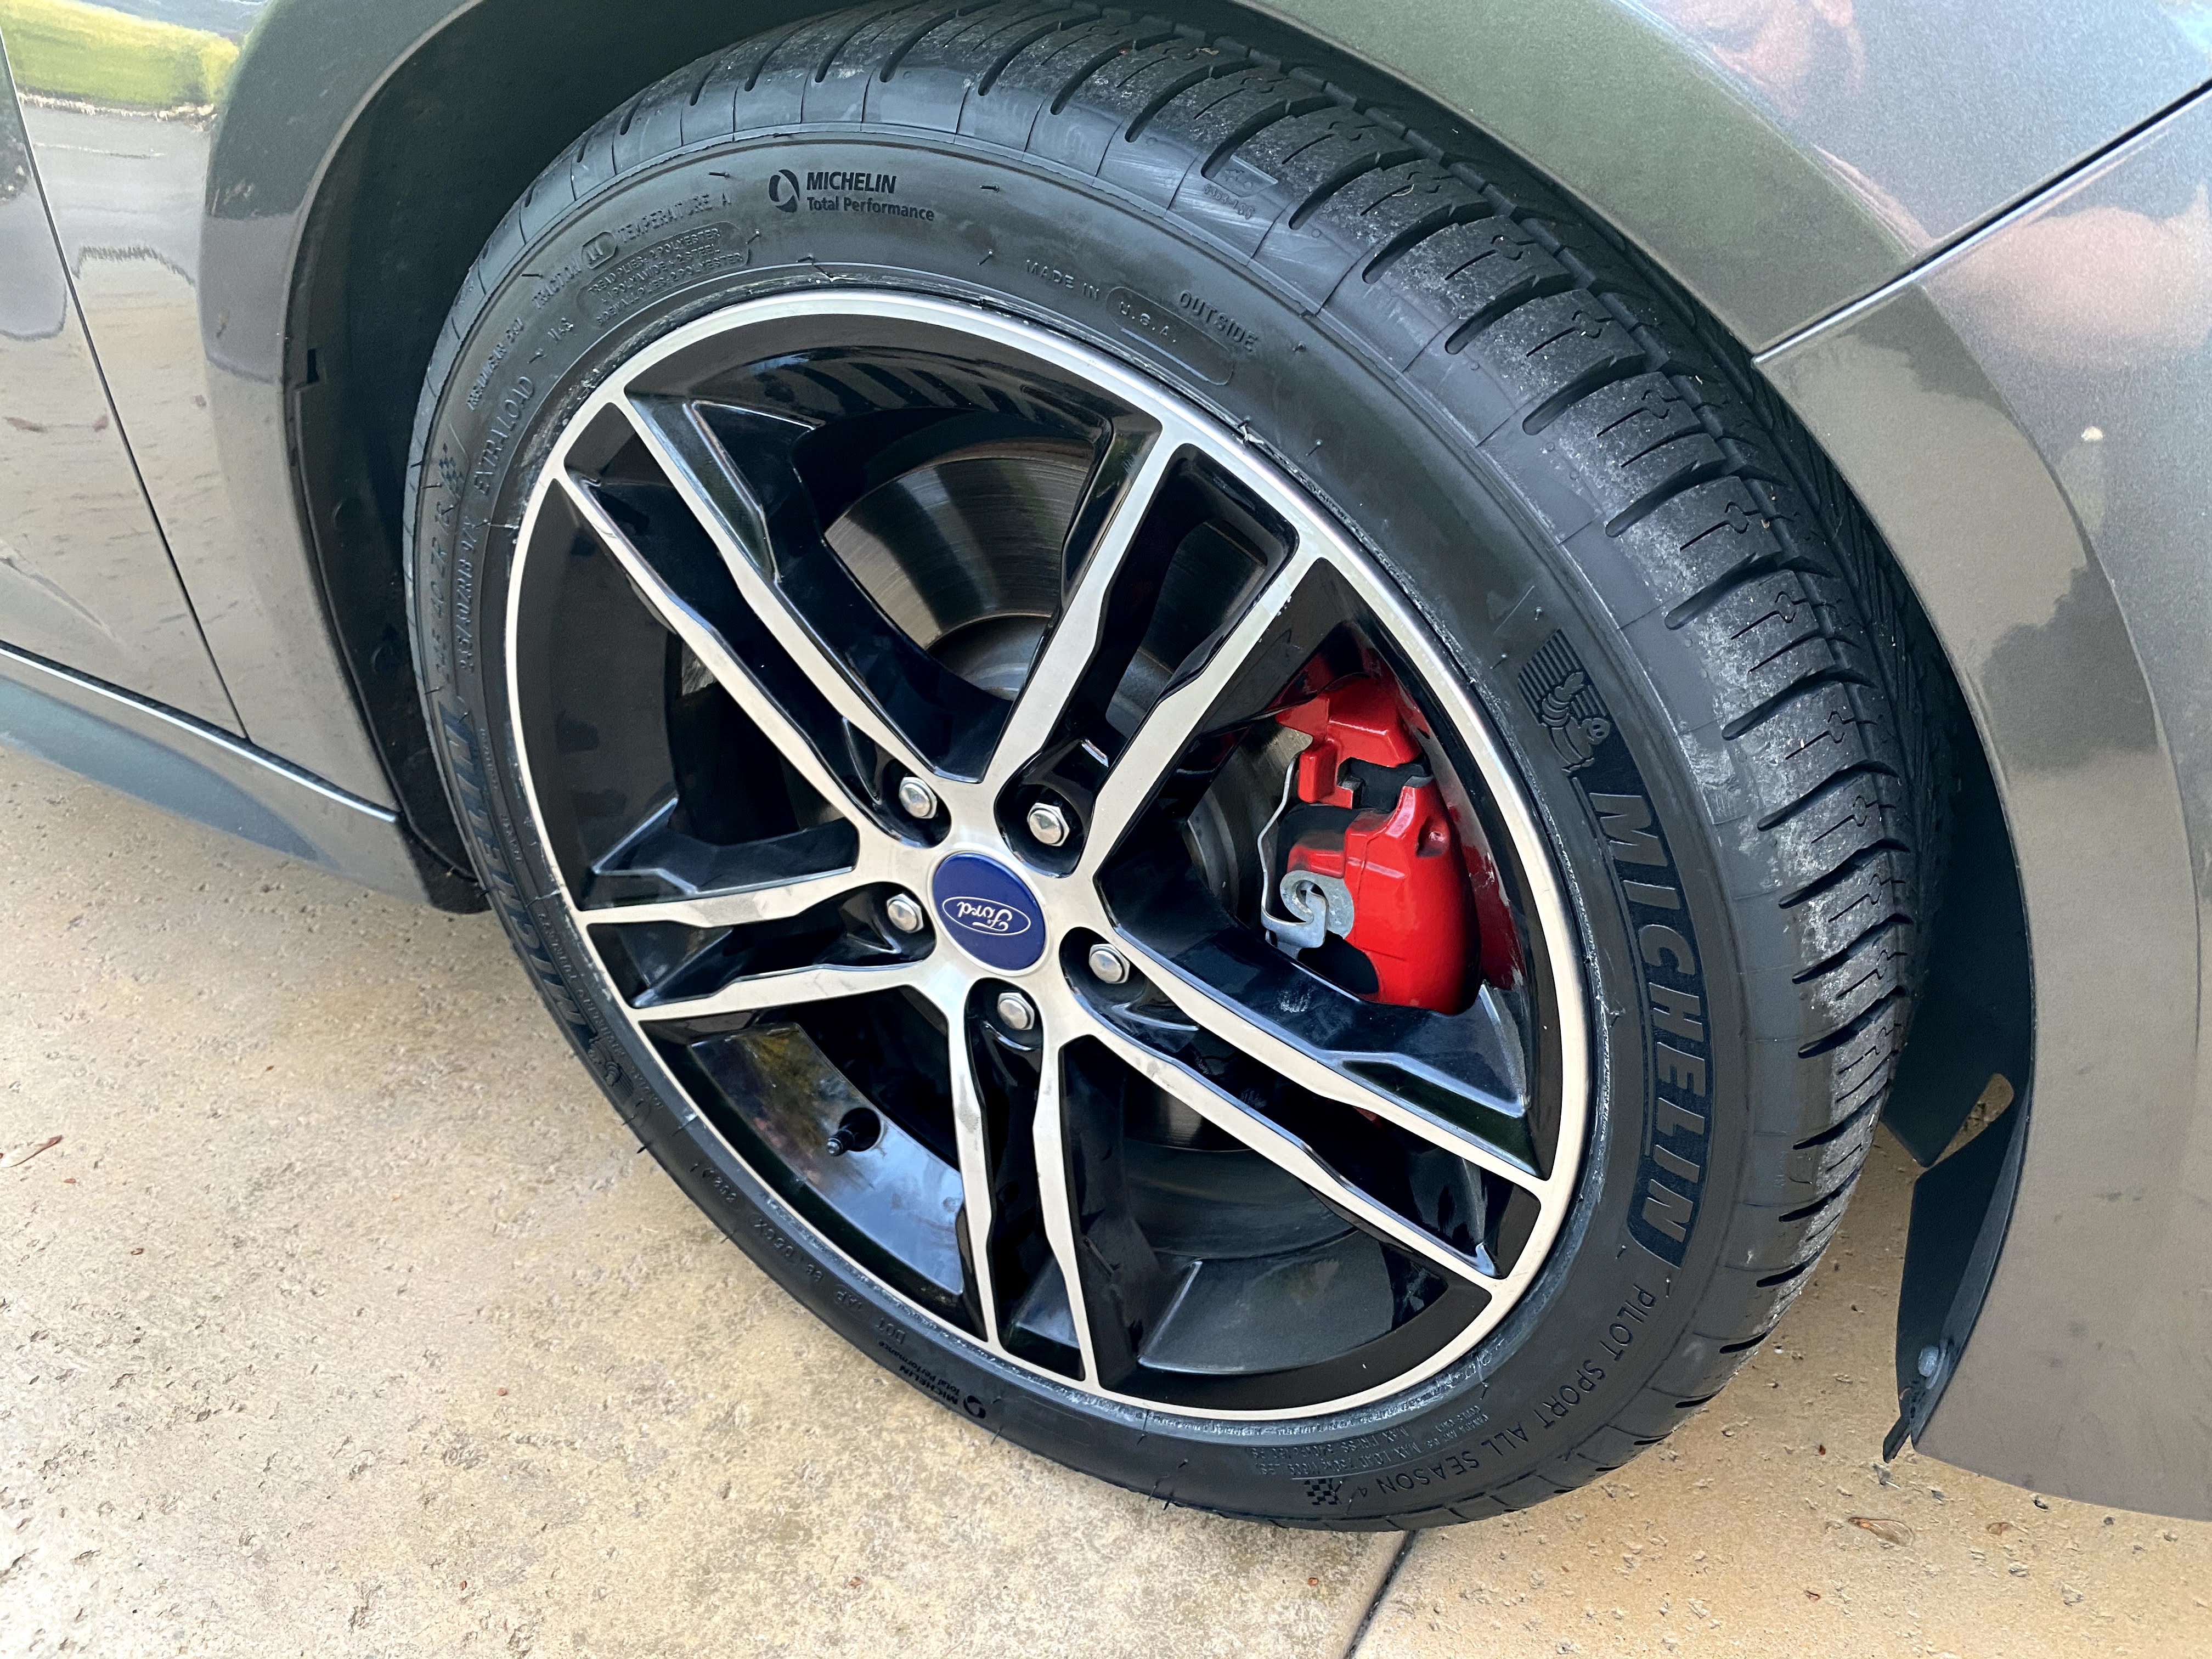
~75k miles, 6-speed, ST3 package with Moonroof and upgraded 18" wheels


-Magnetic Gray with 15% tint, WeatherTech rain guards,

-SYNC 8-inch touchscreen updated to the latest SYNC 3.4

-SiriusXM capable, with GPS

-245/40R18 Michelin Pilot Sport All Season 4 Tires

-Mountune MP275 Stage 1 kit (CARB D-272-3) includes:

- Mountune Induction kit

- Mountune High Flow Intercooler

- Mountune mTune handset

-Ford Racing( M-5200-FST) Cat-Back Exhaust System

-Boomba Racing Short Shifter

-Boomba Racing Stage 2 Oil Catch Can

-Sound Symposer Delete (not more fake engine sounds)

-Kicker DVC Subwoofer upgrade with 200W dedicated AMP

-OSRAM Xenon XENARC Night Breaker Laser D3S high/low beams

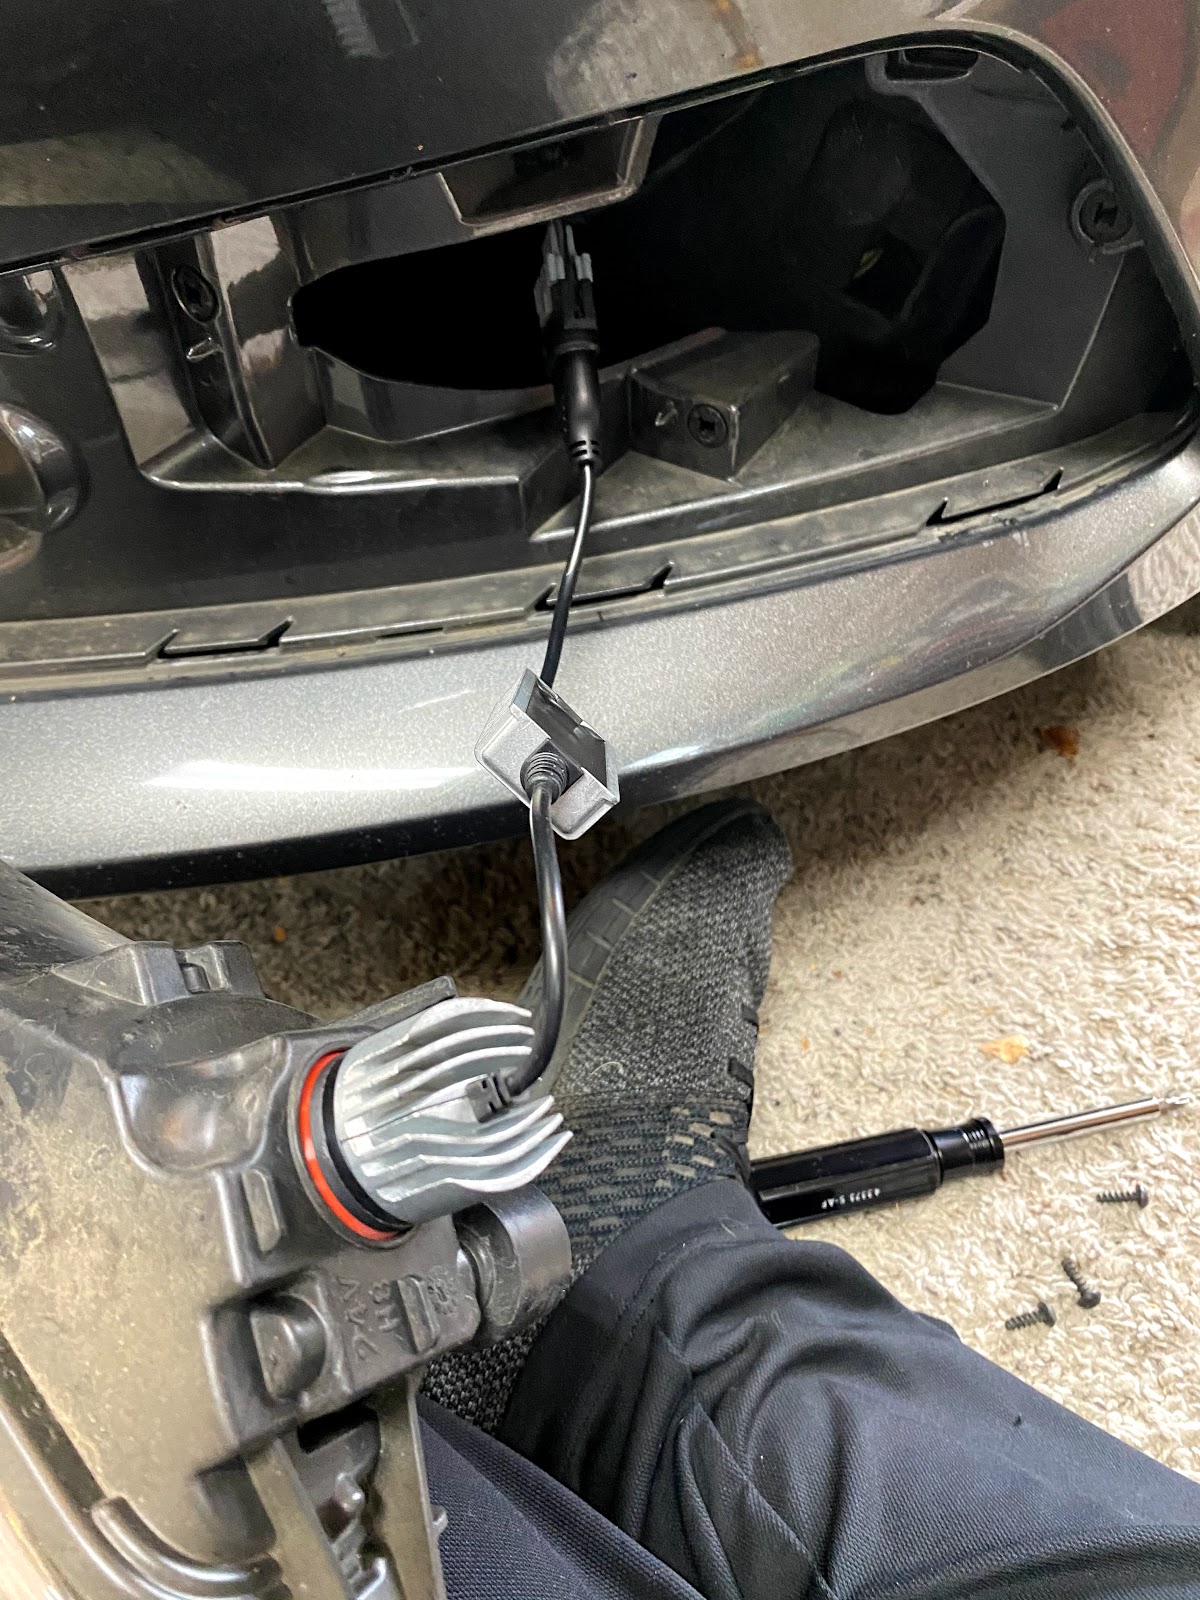
-Diode Dynamics LED 6k driving lights

-AUXITO LED upgrades front and rear

-ProClip Phone Mount & Holder

Very well maintained, all documentation included. No accidents and everything is in excellent shape.

What was good for the front is good for the back - I'm talking LEDs!

 My last post was all about upgrading visibility up front in the headlights.  I figured, why not check out the back? 👀 But seriously, why have I waited 6 years to do this!?  Out back there are 4 lights per side.


**note these are polarity sensitive so double check them

Getting the rear lenses out is really simple, pull out the lower carpet block, and untwist the plastic nut, there is also a 2nd one up and back from that one - amazing how 2 screwnuts hold this in place - there is another stabby part that is pressure fit toward the front of the light, just used a screwdriver to pop it out

if you haven't seen behind these lights, it's DIRTY back there! all the water drainage, leaves, etc. are in there - clean it out!


one simple plug in back, push the tab and it comes right out 👏

here's a comparison of the old bulbs vs the LEDs


needless to say, even in daylight you can see which side is the LED and which is OEM


LED reverse light left and OEM on right... it's a no brainer!!! Even in daytime!!


and here's everything done out back, not the brake lights are not on, just as running lights

needless to say - even in daylight, these new LEDs are PHENOMENAL!!
Two big thumbs up!!  👍👍

Headlight upgrades across the board - worth it!

After my last post, and a few weeks of driving, while I liked the LEDs they just didn't have a long-term benefit that I was hoping for.  I opted to return them and went for an insane update.  With all the rain in NorCal, the nights have felt darker than usual, maybe it's just my old eyes 😆

Here's the upgrade list that I used to update ALL bulbs in the headlight, believe it or not there are 4 modifiable light sources in there.  

Left to Right: Amber Turn Signal, Green Turning Light,
Red Headlight, Amber Marker Light
PSA: the links are through Amazon, helps me pay for blogging, hosting, etc.  Please turn off your adblock to see the parts that are used.

Auxito seems to have the best list of all lights that can be upgraded, I did a mix of lights, some due to cost, but it's a great list!  
I'll breakdown the replacements, and let's start with the easy ones - the side marker lights!
These are a pretty common 194 LED replacement.  The implementation in the headlight is interesting as the bulb holder aligns with contacts in the actual headlamp, so you can just swap bulbs and snap the holder back in place.
this squigly thing is the side marker bulb holder


you can see the 194 bulb and the contacts on the holder

quick comparison of 194 vs LED size

swapped in the LED

standard incandescent bulb

new LED bulb, much brighter!

Next up, let's go for broke with the Headlights.  Yes these are expensive, but the OSRAM XENARC Night Breaker Laser D3S LEDs are insanely bright! 

very pricey, but extremely bright HIDs from OSRAM


crazy bright, even at dusk!

up next - the PSX24W bulb is really deep in there!

The next light was the most challenging of the bunch, the turning/directional lights are a size I've never worked with previously.  This makes it part of the challenge.  The PSX24W LED socket has two tabs that you push in and the socket is removed.  The big problem with the headlights is that you cannot get your hands in there, at least I couldn't fit my hands.  I opted to use some curved pliers for a while, but ended up snaping off the tabs which let me remove the socket - at least I could swap the bulbs now!


check out that bulb compared to the LED - HUGE difference!


Lastly, let's swap out the turn signal bulbs.  These are sometimes touchy due to a fast flash issue where resistors may be needed.  In this case, I bought the AUXITO CANBUS anti-flash LEDs, and they work perfectly!  On initial startup they'll fast flash for about 3-5 blinks, but then settle in to a regular flash time sequence.


All in, it's not a cheap upgrade at around $225, but dang the light output is PHENOMENAL!!! and still cheaper than aftermarket headlights.  Two big thumbs up!


Upgraded to LED headlights

One of the HID bulbs I used back in 2019 burned out, so with newer LED technology I upgraded to a new set of D3S LEDs.  OPP ULITE D3S Led Headlight Bulbs, 3RD-Gen 100% Plug & Play, Canbus Error Free, 6000K White 70W 8600LM Headlights Bulb, Replace OEM Xenon Bulb


The process to remove the headlights is really simple, 2 screws with I believe T-25 bits.  Then tug on the housing and it comes forward.  

You can see the old HID bulb on the right, and the replacement LED on the left

Remove the collar from the HID and position it correctly on the new LED bulb

Just align the square hole with the square spot on the LED and it slides right in place

Plug the LED into the HID harness

Simply tuck the extra wire/connector inside the headlight

The results are pretty awesome!  The 6000k offers a blue-white light and these are much brighter than the HID setup!

Highly recommended!!!


It's always a good time to change your cabin filter!

 After all the fires this past summer in NorCal, I decided to check the cabin air filters in our cars.  All I can say is O-M-G that's NASTY!  You can get a cheap $10 filter like the FD920 Cabin Air Filter for Ford Focus, or upgrade to a nice HEPA based one like the PureFlow HEPA Cabin Air Filter PC6174HX 

Whatever you do - just do it!  Look at our old filter compared to the new one! Seriously disgusting!


If you don't know how, it's a really simple process on the Focus family.  You just need one torx bit and everything else is pretty much hand driven.


WHAT A DIFFERENCE it made - honestly, I'm not sure how the A/C or heat worked previously with how clogged the old filter was.  Make sure you do it!!


Michelin Pilot Sport All Season 4 - great option for performance all-season tires!

 Our Michelin Pilot Sport 4s finally were at about 2/32nds and had to be retired at 32k of usage, so at least they met the warranty lifetime of 30k!  My wife is about to start a new job where there may be more 'weather' to deal with so we opted for the Michelin Pilot Sport All Season 4s to replace them with.  The tire is excellent, great ride quality and the grip is darn good!  


These tires have a 50% upgrade in warranty to 45K so that's a benefit as well for longevity.  Only 54K on our 2016 FoST and loving it!


Here's a review from Tire Rack on performance All-Season tires

Overall, we stuck with the 245/40R18 size for a little width gain from the stock 235 size.  We've been really pleased with them so far!

Upgraded to Diode Dynamics SLF LED Fog Lights

The guys at Diode Dynamics are awesome - not only do they have great products, they stand behind them!  We recently had one of our older LED bulbs die out, so we did an RMA and since they no longer produced those lights, they sent us the latest SLF model LED - and wow are they great!


here's one of the new LEDs - excellent packaging and plugs right into the fog light socket!

Here's the simple removal/install process... I used to think you had to pull the bumper off these cars, but if you carefully use a flat screwdriver - it pops the fog light fascia off the bumper and all you need is a Torx-30 screwdriver to remove 3 screws!
 

Old LED on top, new setup on the bottom - very slick setup!
the trick to the front section coming off was to put a thin screwdriver in between the bumper and the fascia section for the foglight, you have to check a few locations but once you press down and pop the clips, pull toward the front of the car and it will pop out.

carefully popping off the fascia exposes the lens and 3 screws

3 simple screws and the lens comes right out 

just unplug the old bulb, and add the new LED - and screw/snap it all back together

Light output is excellent and now we have fogs again!  Highly recommended!