My last post was all about upgrading visibility up front in the headlights. I figured, why not check out the back? 👀 But seriously, why have I waited 6 years to do this!? Out back there are 4 lights per side.
What was good for the front is good for the back - I'm talking LEDs!
Headlight upgrades across the board - worth it!
After my last post, and a few weeks of driving, while I liked the LEDs they just didn't have a long-term benefit that I was hoping for. I opted to return them and went for an insane update. With all the rain in NorCal, the nights have felt darker than usual, maybe it's just my old eyes 😆
Here's the upgrade list that I used to update ALL bulbs in the headlight, believe it or not there are 4 modifiable light sources in there.
![]() |
| Left to Right: Amber Turn Signal, Green Turning Light, Red Headlight, Amber Marker Light |
I'll breakdown the replacements, and let's start with the easy ones - the side marker lights!
These are a pretty common 194 LED replacement. The implementation in the headlight is interesting as the bulb holder aligns with contacts in the actual headlamp, so you can just swap bulbs and snap the holder back in place.
| this squigly thing is the side marker bulb holder |
| you can see the 194 bulb and the contacts on the holder |
| quick comparison of 194 vs LED size |
| swapped in the LED |
| standard incandescent bulb |
| new LED bulb, much brighter! |
| very pricey, but extremely bright HIDs from OSRAM |
crazy bright, even at dusk! | ||||
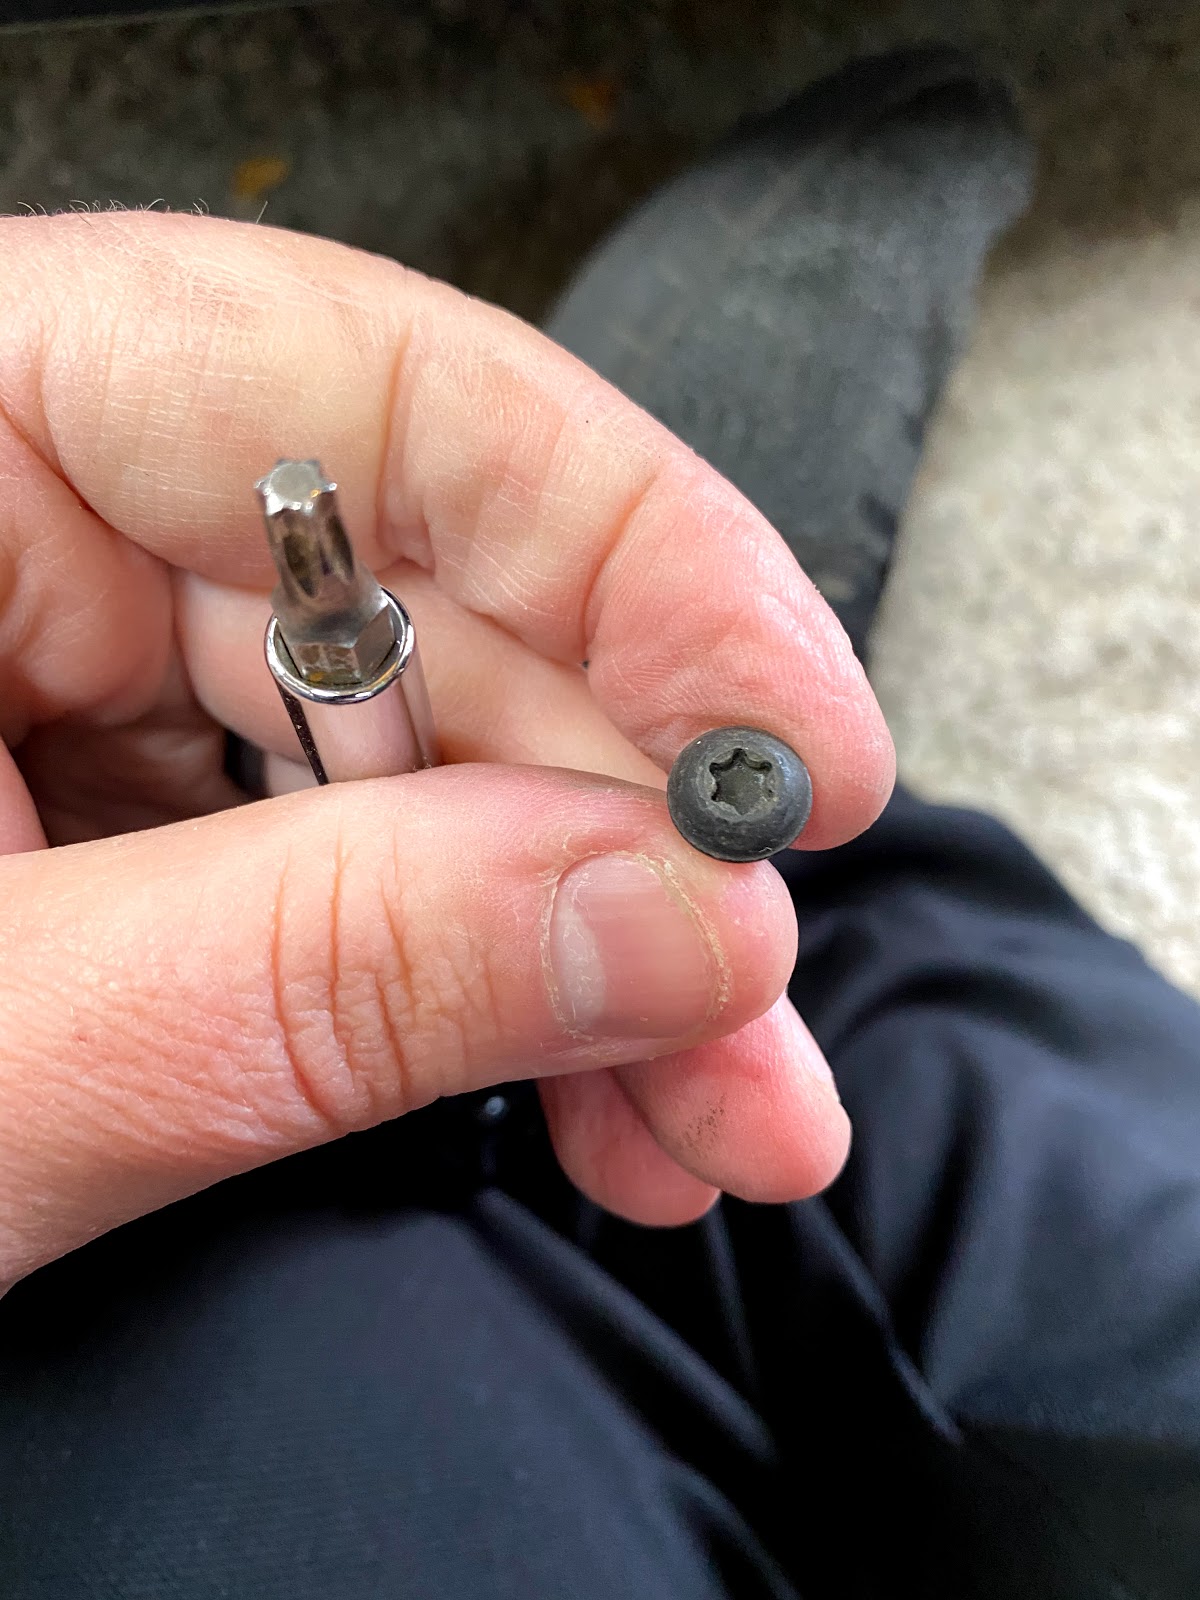
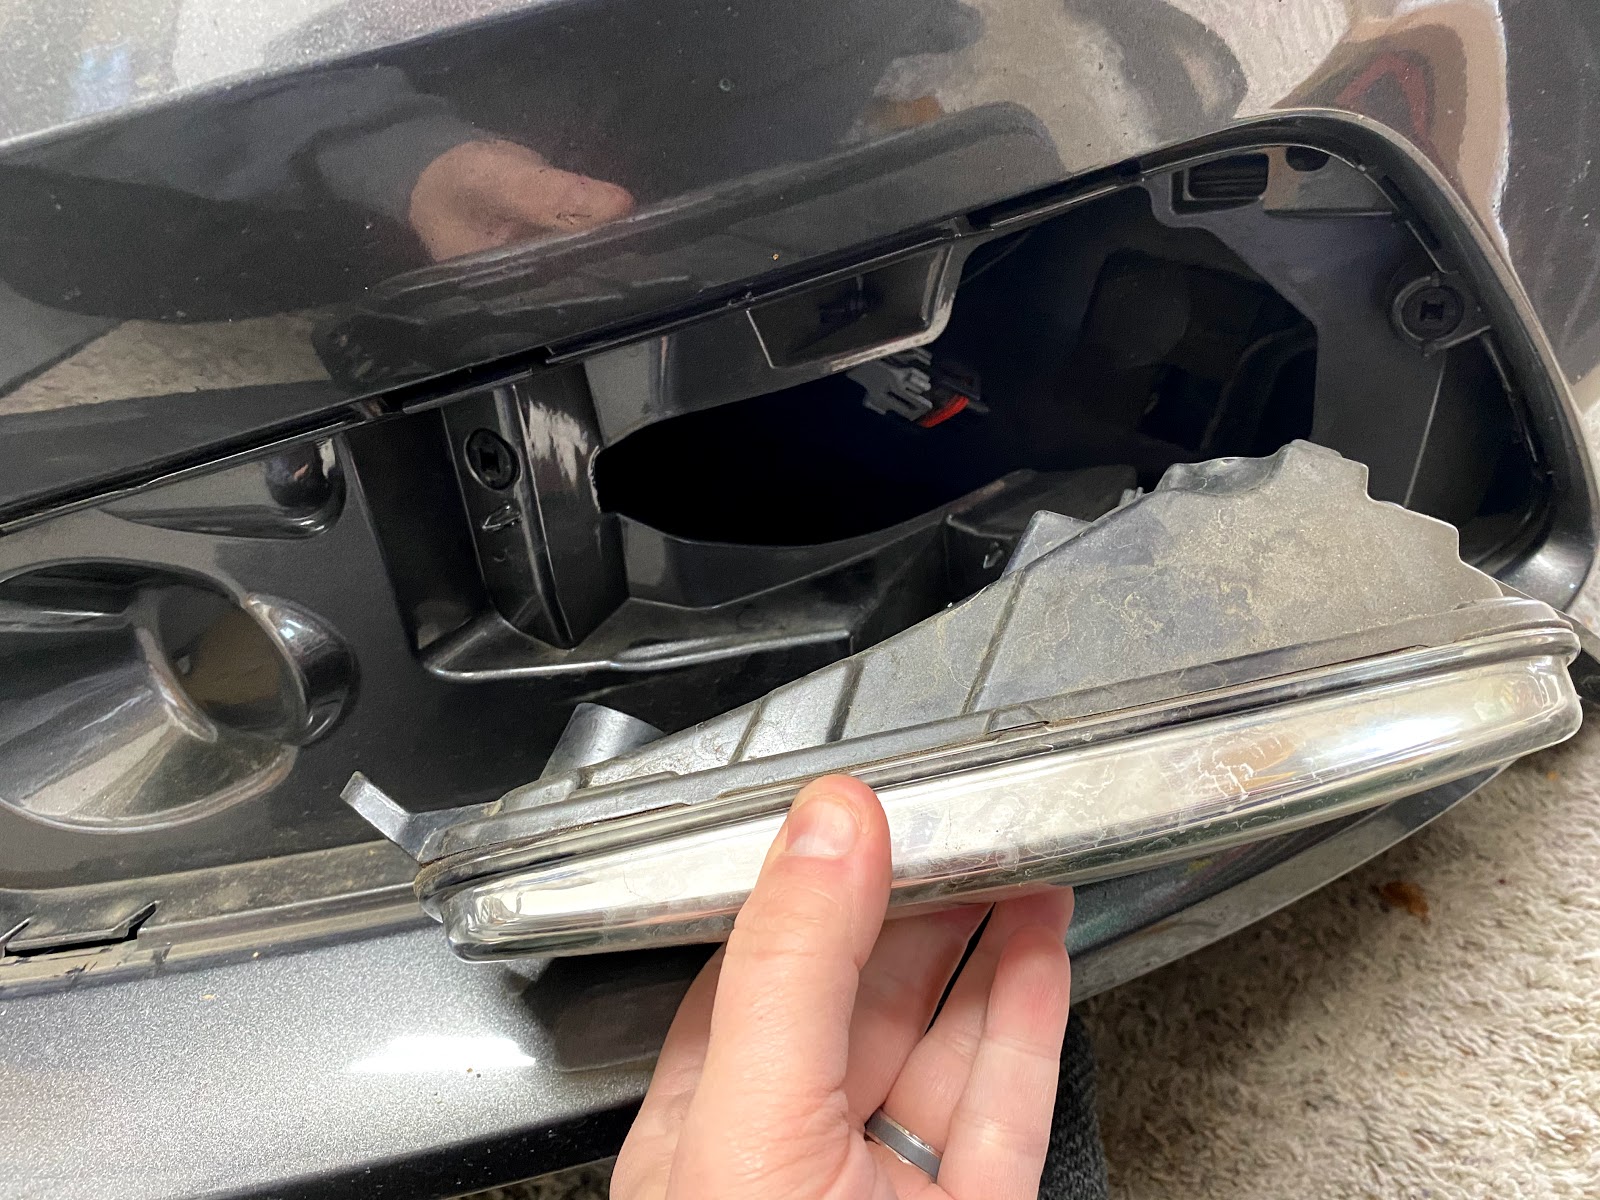
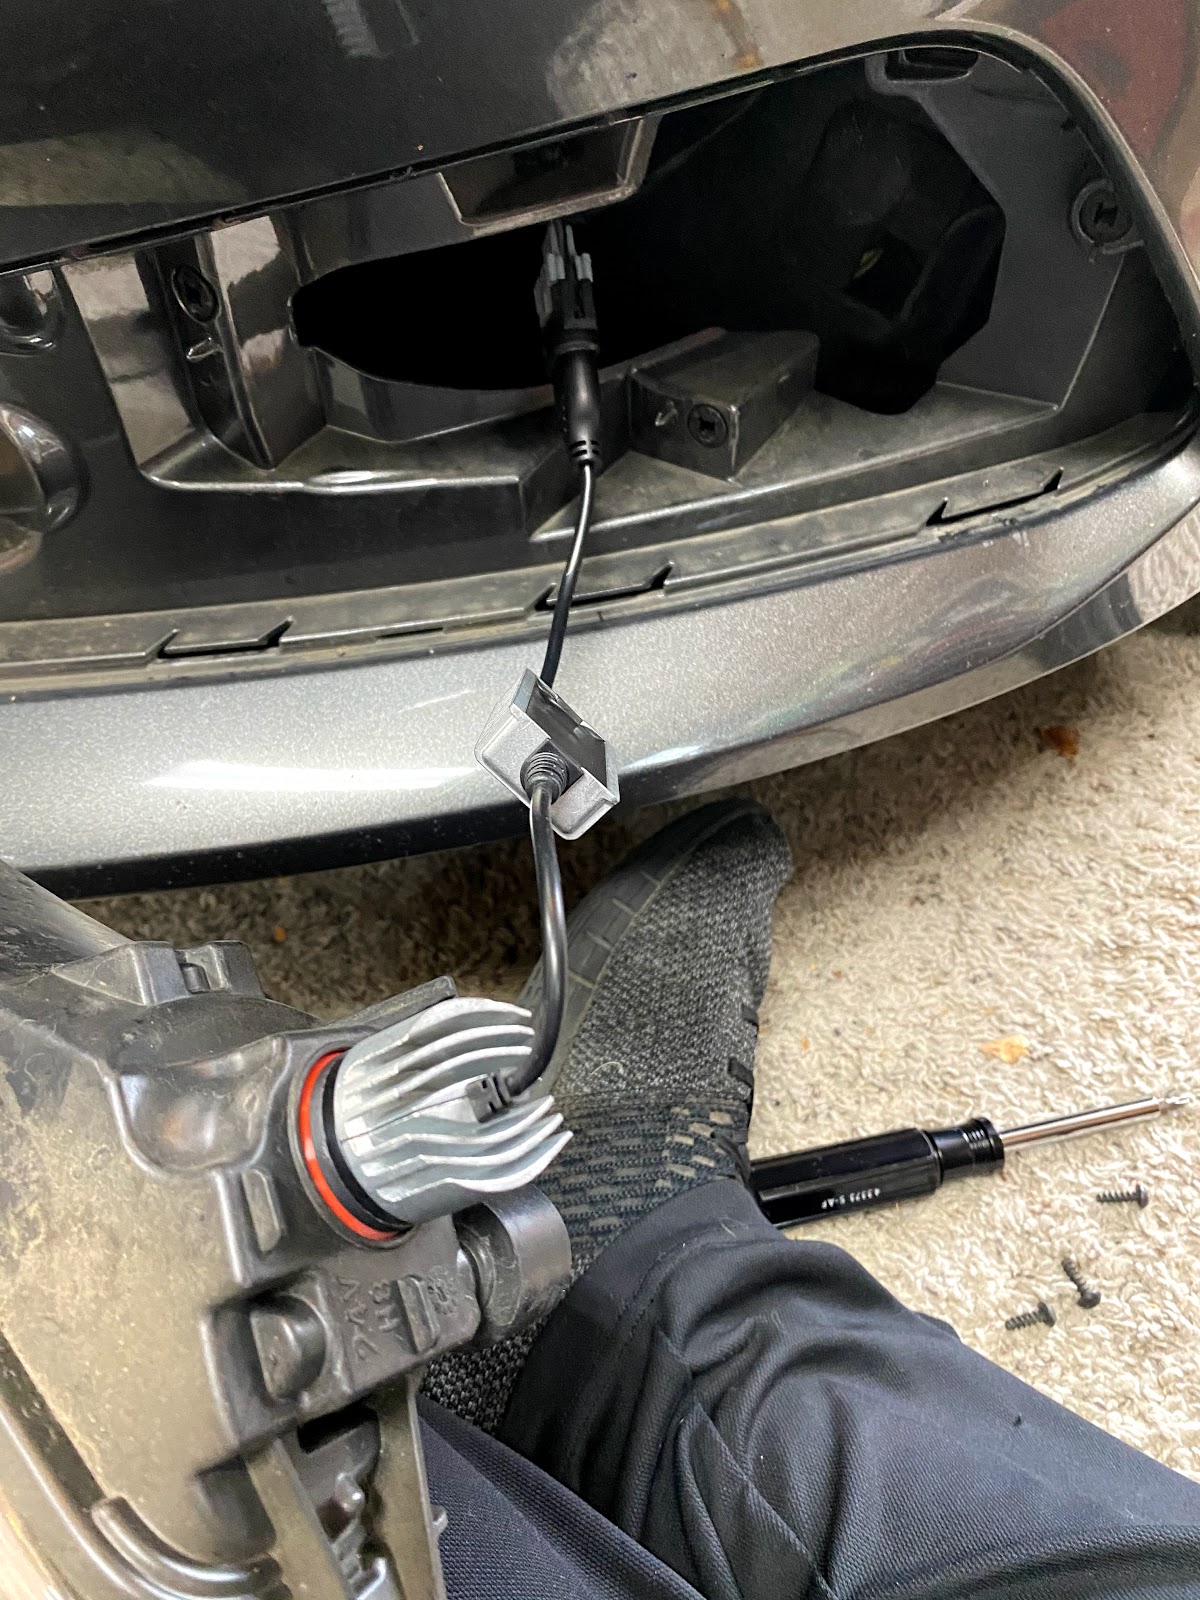
The next light was the most challenging of the bunch, the turning/directional lights are a size I've never worked with previously. This makes it part of the challenge. The PSX24W LED socket has two tabs that you push in and the socket is removed. The big problem with the headlights is that you cannot get your hands in there, at least I couldn't fit my hands. I opted to use some curved pliers for a while, but ended up snaping off the tabs which let me remove the socket - at least I could swap the bulbs now!
|
Upgraded to Diode Dynamics SLF LED Fog Lights
Replacing the D3S HID bulbs in the Ford Focus ST
The stock HID ballast in the ST3 are Osram 35W, so that's already good (as compared to older 25W versions) There are the usual HID replacement parts, and boy can they be expensive!
If you know the HID Kelvin color chart, 4.6K from the Osram is a decent HID coloring (as shown below) to see well, if you go too low you're yellow (good for fog lights), and if you go too high - well, you turn into ricer purple, heck I've even seen some guys go to 30,000K and it's HULK green!
mounted the DVC Kicker (finally)
Focus ST T-Shirts n-stuff
Ford Sync 3 version 3.0 18025 is out!
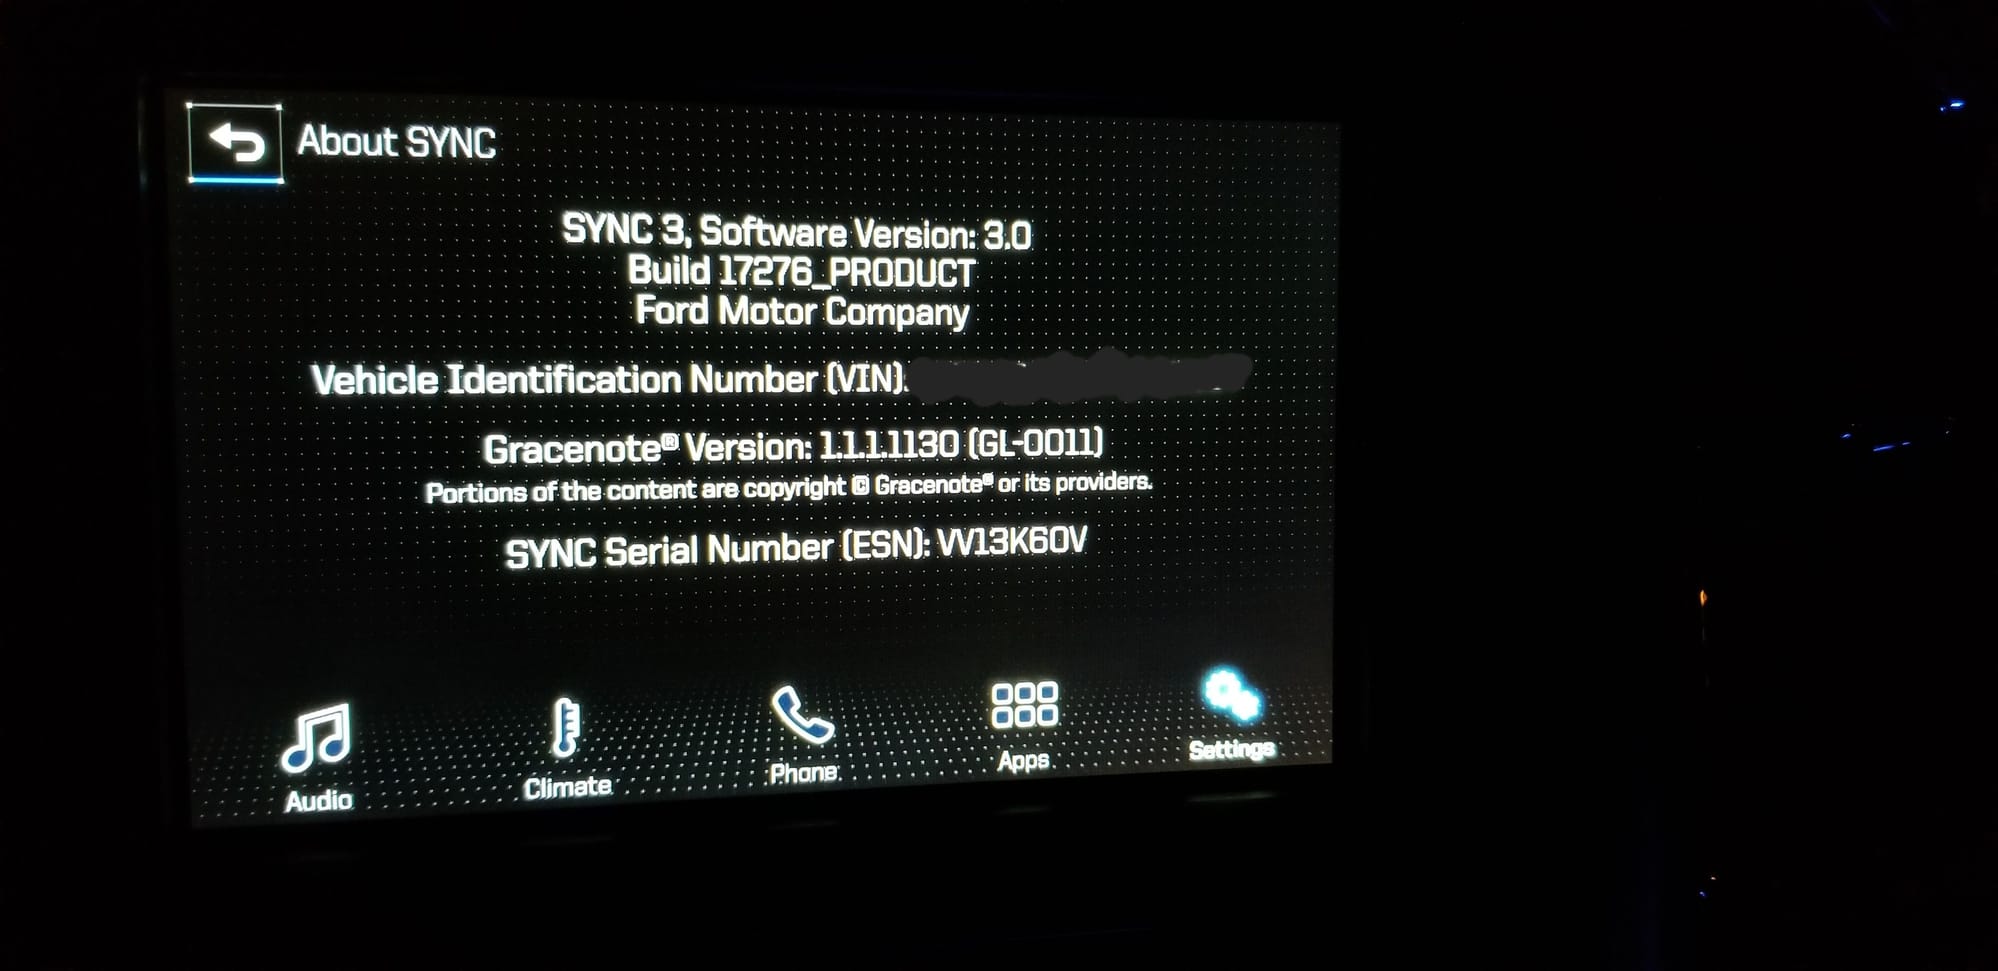
*UNOFFICIAL* SYNC 3 Version 3 update BUILD 17276 is OUT
1. Download.
2. Unzip onto desktop.
3. Grab a USB Flash Drive, 32GB minimum.
5. Put the extracted files inside the flash drive.
6. Turn car on. Turn bluetooth off, just in case(optional). Or master reset before beginning.
7. It might take 5 mins for Updating System Software message to pop up, then 19 mins to install from there on
Depending on the Ford model, it might reboot automatically after installation is complete, if navigation maps don't come back don't worry turn off/on the car again.
*OFFICIAL UPDATE v2.3.10 --> OWNER.FORD.COM*
**CAUTION:There are FOUR versions to this update, MY 16 Nav/Non-Nav, and MY 17 Nav/Non-Nav, a single file will not work for both years! Even if they appear identical, use the one for your model year! You risk damaging APIM and/or Gracenotes and possibly other things**
***FOR INSTALLATION TO GO FLAWLESSLY THE FIRST TIME, USE MIN. 32GB USB DRIVE WITH 3.0 SPEED FOR BEST RESULTS.***
Official link to MY 16 w/Nav: HereOfficial link to MY 17 w/Nav: Here
USB Step 2 PDF
USB Step 3 PDF
USB Upgrade to SYNC3 Version 3.0
- New Nav Icon.
- Fixed keyboard
- added symbol $
- MUCH faster interface smoother, snappier
- Support for new apps
Installation instructions: 1. Download. 2. Unzip. 3. Grab a USB Flash Drive, 4GB is fine. 4. Format the drive to either exFAT or FAT32. 5. Put the extracted files inside the flash drive. 6. Turn car on. 7. Plug in car and enjoy!!
***** Note that depending on your USB device it might take up to 10 minutes for the stereo to show "Updating System"... *****
The USB in the car is NOT USB 3 therefore read speed is limited, so if you don't see anything, DO NOT unplug - just wait....
There are two versions to update your particular SYNC 3 system
Navigation
Non-Navigation
found this over at http://www.mustang6g.com/forums/showthread.php?t=90236&fref=gc&dti=935473876561093